반응형

1. AddCard: Create

<br />

<form name="addCardForm" onsubmit="saveCard(); return false;">
    <label>문제(앞면)</label>
    <input id="CardFront" />

    <br />

    <label>정답(뒷면)</label>
    <input id="CardBack" />

    <br />
    <br />

    <button id="btnAdd" type="submit">저장</button>
</form>
2. CardList: Read

<h2>@ViewBag.Message</h2>

@Html.Raw(File.ReadAllText(Server.MapPath("~/Views/Card/AddCard.cshtml")))

<br />
<hr />
<br />

<table border="1">
    <thead>
        <tr>
            <th style="padding: 1em">번호</th>
            <th style="padding: 1em">문제</th>
            <th style="padding: 1em">정답</th>
        </tr>
    </thead>
    <tbody>
        @for (int i = 0; i < @ViewBag.CardList.Count; i++) {
            <tr>
                <td style="padding: 0.3em 0.5em">
                    @(i + 1)
                </td>
                <td style="padding: 0.3em 0.5em">
                    @ViewBag.CardList[i].CardFront
                </td>
                <td style="padding: 0.3em 0.5em">
                    @ViewBag.CardList[i].CardBack
                </td>
            </tr>
        }
    </tbody>
</table>
3. CardGame

<h2>@ViewBag.Message</h2>
<br />
<form name="gameStartForm" onsubmit="cardGameStart(); return false;">
<label>문제 갯수</label>
<input id="DeckNum" type="number" onchange="onDeckNumChange()" value="1" />
<input id="CardListCount" type="number" value="@ViewBag.CardListCount" style="display: none;" />
<br />
<br />
<button id="btnStart" type="submit">시작</button>
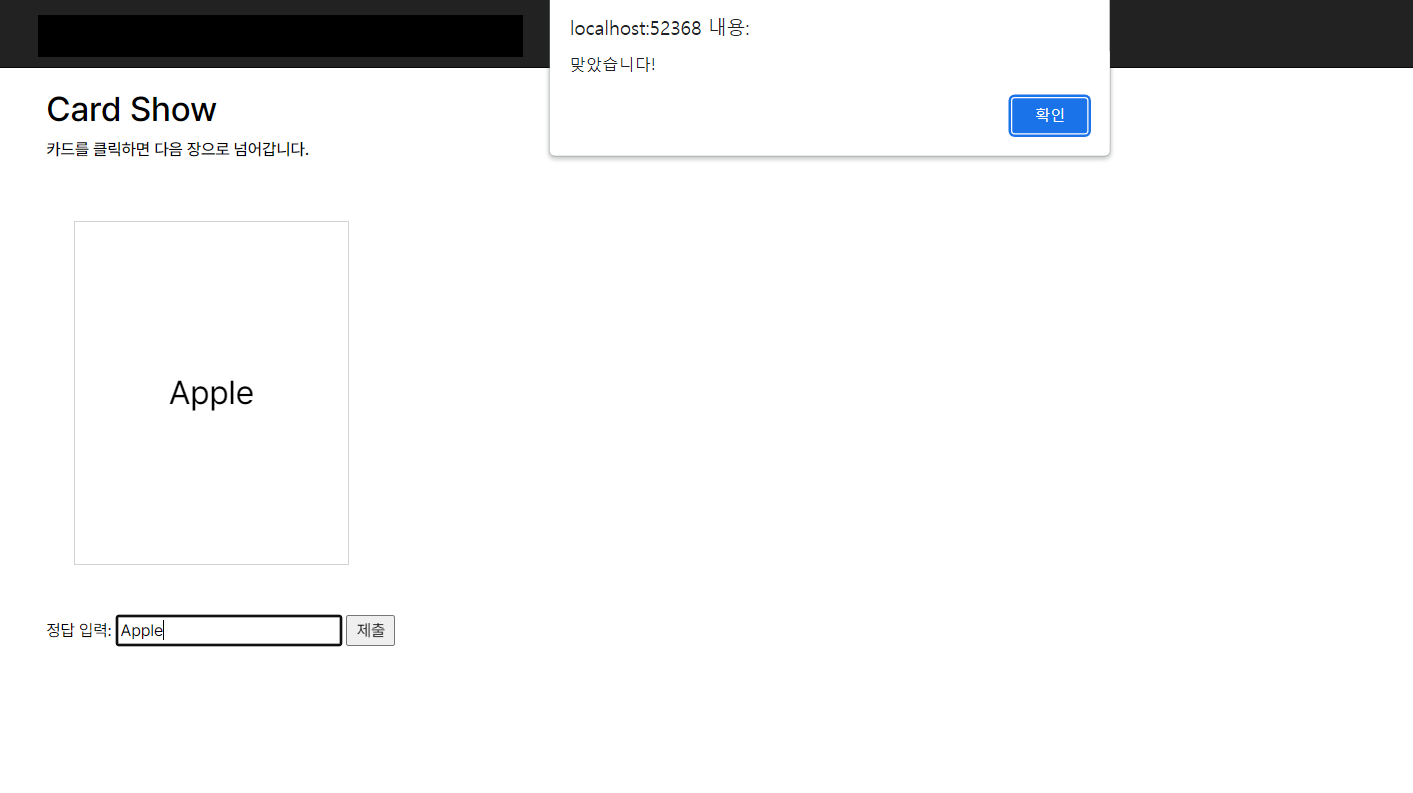
</form>4. CardShow
@{
    var deckNum = ViewBag.CardList.Count - 1;
    var idx = ViewBag.CardIdx;
    var cnt = ViewBag.CorrectCount;
}

<h2>@ViewBag.Message</h2>
<h5>카드를 클릭하면 다음 장으로 넘어갑니다.</h5>

<br />

<form name="submitCardForm" onsubmit="submitCard(); return false;" onload="focusAnswerInput()">
    <div class="flip">
        <div class="card">
            <div id="CardFront" class="front" onclick="nextCard()">
                @ViewBag.CardList[idx].CardFront
            </div>
            <div id="CardBack" class="back">
                @ViewBag.CardList[idx].CardBack
            </div>
        </div>
    </div>
    <input id="DeckNum" value=@deckNum style="display:none" />
    <input id="CardIdx" value=@idx style="display:none" />
    <input id="CorrectCount" value=@cnt style="display:none" />

    <br />

    <label>정답 입력: </label>
    <input id="CardAnswer" />
    <button id="btnSubmit" type="submit">제출</button>
</form>

@section scripts {
    <script>
        document.getElementById("CardAnswer").focus();
    </script>
}
Card.css
@import url("https://cdn.jsdelivr.net/gh/orioncactus/pretendard/dist/web/static/pretendard.css");

form[name="submitCardForm"] .flip {
    width: 200px;
    height: 250px;
    position: relative;
    perspective: 1100px;
    margin: 2rem;
}

form[name="submitCardForm"] .card {
    width: 100%;
    height: 100%;
    position: relative;
    transition: .4s;
    transform-style: preserve-3d;
    cursor: pointer;
}

form[name="submitCardForm"] .front, form[name="submitCardForm"] .back {
    position: absolute;
    width: 100%;
    height: 100%;
    backface-visibility: hidden;
    display: flex;
    justify-content: center;
    align-items: center;
    font-size: 24px;
}

form[name="submitCardForm"] .front {
    background: black;
    color: white;
}

form[name="submitCardForm"] .back {
    background: white;
    border: 1px solid lightgray;
    color: black;
    transform: rotateY(-180deg);
}

/*form[name="submitCardForm"] .flip:hover .card {
    transform: rotateY(-180deg);
}*/
[CSS] 카드 뒤집기(플립) 효과
코드 CSS를 이용하여 입체효과가 적용된 카드를 뒤집어 앞면, 뒷면 구분을 할 수 있습니다. .flip { width: 200px; height: 250px; perspective: 1100px; } .card { width: 100%; height: 100%; position: relative; transition: .4s; tran
gurtn.tistory.com
CSS 카드 뒤집기 플립 효과는 위 사이트를 참고했음을 밝힙니다.
반응형
'HTML & CSS' 카테고리의 다른 글
| [HTML] iOS에서 키보드 활성화 시 Viewport 문제 정리 (0) | 2024.11.27 |
|---|---|
| <button>태그가 iOS에서는 onFocus되지 않는 문제 (2) | 2024.11.26 |
| [CSHTML][카드 게임] 2. JS ajax, 컨트롤러 만들기 (0) | 2023.06.14 |
| [HTML] 태그별 주의사항 (0) | 2023.06.13 |
| [CSS] 카드 뒤집기(플립) 효과 (0) | 2023.05.09 |

